woman avoiding streaky fake tan

Fake Tan Gone Wrong & How To Fix It

Read our top tips and tricks to help fix your fake tan gone wrong

Fix Your Fake Tan Gone Wrong

With tantalising glimpses of warmer days ahead, thoughts turn to sloughing off your post-winter skin in favour of a golden glow. Fake tans have come a long way since the days when even the merest hint of it left nasty streak marks and a distinct whiff of biscuits on the skin. But while it may now be easier than ever to get sun-kissed skin from a bottle, even in the hands of a tanning pro, getting a safe golden tan doesn’t always go smoothly. From a streaky fake tan to patchy hands and orange knees, self-tanning can leave you looking less bronzed goddess and more satsuma! The good news is a fake tan gone wrong is easy to fix.

Read for some of the common tanning mistakes and how to fix a fake tan gone wrong for a natural and long-lasting glow.
 
woman removing streaky fake tan
woman preventing streaky fake tan
woman avoiding streaky fake tan

3. Dry patches on your leg from fake tan

Dry patches are a magnet to fake tan which can leave muddy streaks instead of a smooth skin kissed glow. When your fake tan goes wrong in this way, an easy fix is to soak in a bath with a generous glug of bath oil for at least 15 minutes.The warm water and oil will help to soften and loosen the dry patches. You can then gently rub the problem areas with a flannel or tanning mitt which should lift off the worst of it, allowing you to blend the areas in to allow you to right a fake tan gone wrong.


4. Shaving too soon before applying fake tan

Tiny dots on your legs are a giveaway you didn’t allow enough time between shaving or waxing your legs and applying the fake tan. To avoid this fake tan gone wrong mishap, make sure you remove any hair at least 12 hours (but ideally 24 hours) before to allow the pores to close. If you haven’t got that sort of time, or want to ensure your pores are tightened, dab your legs with cold water and pat dry before applying the self-tan.


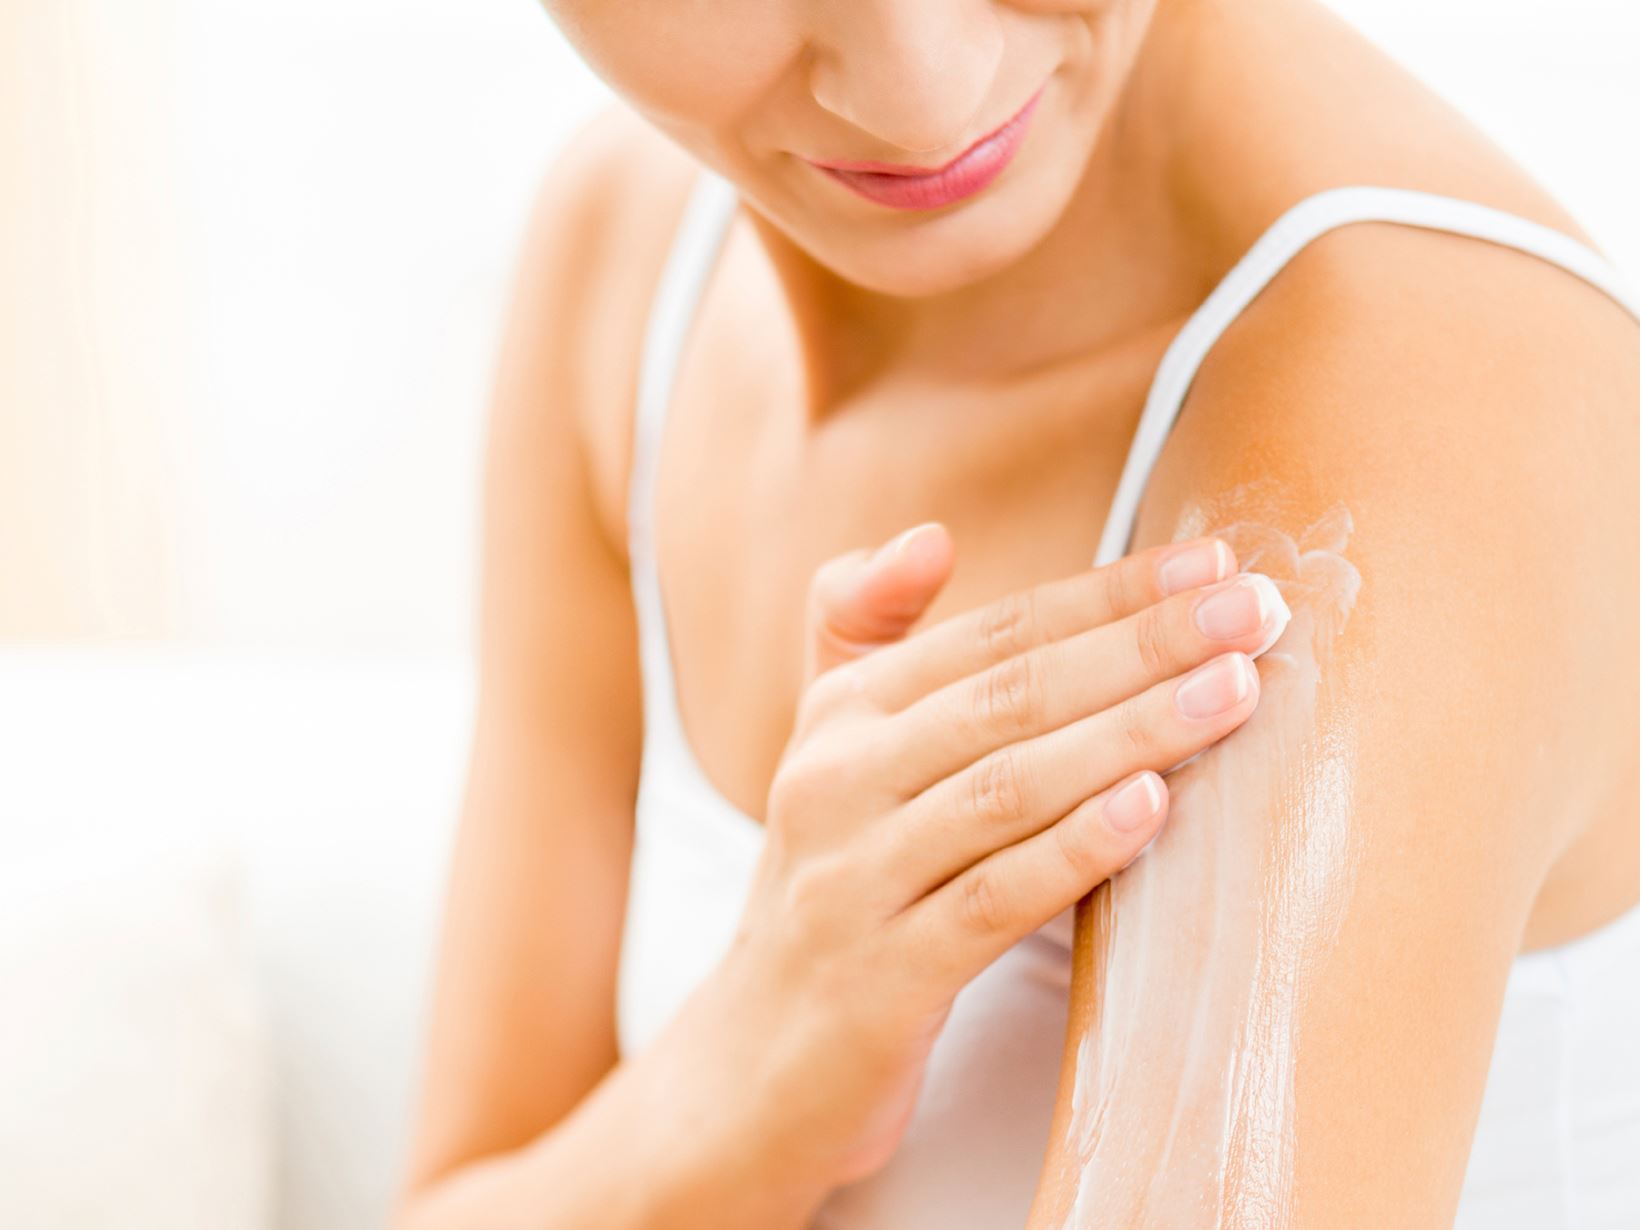
  5. If your fake tan colour is too dark (or too light)

A fail-safe way to build a golden glow is to use a gradual fake tanNIVEA Gradual Tan allows you to gradually build up a natural-looking tan. As it’s easy to adjust it’s easier to avoid mistakes that lead to a fake tan gone wrong. If you want a subtle glowing fake tan, try using a gradual tan a couple of days a week. If you prefer a deeper colour, layer it on over a few days until you get the glow you want. Gradual tanners also deliver a moisturising hit that traditional self-tans don’t. NIVEA gradual tan lotion’s 48-hour intensive moisturising care allows you to develop the glow you want while keeping your skin super soft and hydrated. 


  6. If your fake tan is fading unevenly

There are several reasons why, after a couple of days, you’ve ended up with a fake tan that is fading in streaks and patches. The temptation is to fix a streaky tan by applying more self-tan, but step away from the bottle. Applying more lotion can make a fake tan gone wrong worse as topping up a fading fake tan can lead to dryness and flakiness. Before applying more fake tan, have a soak in a bath of warm water and use an exfoliating mitt to really smooth the skin and get rid of any remnants of a fading, streaky self-tan. Slather on moisturiser for a couple of days prior to applying more self-tan (but avoid it on the day) to get rid of any dry patches that will draw in the fake tan and leave you with a streaky fake tan.


1. How to fix a streaky fake tan

An uneven tan is perhaps the most common tanning mistake. As with many mishaps in life, a fake tan gone wrong is often down to a lack of prep. Laying the groundwork pays dividends when it comes to safe tanning, especially helping you sidestep a streaky fake tan. If you don't lay the foundations you could end up with streaky colour, and darker where you don't want it to be.
 
To get your body fake tan ready, follow these steps:
 
Exfoliate: use a dollop of body scrub on a tanning mitt or sponge to slough away dead skin cells and leave your skin smooth and primed to absorb a self-tan. Ensure you’re exfoliating correctly, to avoid damaging your skin.

Moisturise: don't slather moisture all over your body immediately before applying self-tan, but do rub some cream into areas prone to dryness such as elbows, between the fingers, knees and toes. It also helps to understand the best moisturiser for your skin type

Use a tanning mitt: these must-have accessories remove remnants of an old tan and give you more accuracy when applying a new tan.


2. How to fix darker fake tan marks on hands and feet

Another common sign of a fake tan gone wrong is orange streaks and discolouration on your palms, the knuckles, the knees or in between the toes.As with most ways to address a fake tan gone wrong, the easiest thing is to avoid the problem in the first place. Again, preparation is your friend here. 


You can do this by following these simple steps: 
Before you begin, apply a small about of body lotion on areas like your knees, between your fingers and toes, the elbows and hands. 
Leave these areas until last and go gently with the self-tanning lotion and use only a tiny bit of these areas - your best bet is to use any excess from your legs for your feet and from your arms onto your hands.

But if you do have darker marks on your hands and feet, follow these steps:
Rub the affected areas with baby oil which should help tone down orange streaks on your hands.  
Lemon juice can help to dissolve uneven patches of self-tan on small areas, such as your ankles, wrists and palms. 
Mixing lemon juice with a tablespoon of sugar or bicarbonate of soda will gently exfoliate the area which will further help to pull out any excess tan.


woman removing streaky fake tan from legs
fake tan gone wrong on elbow